General
Life
Accessibility Options

General
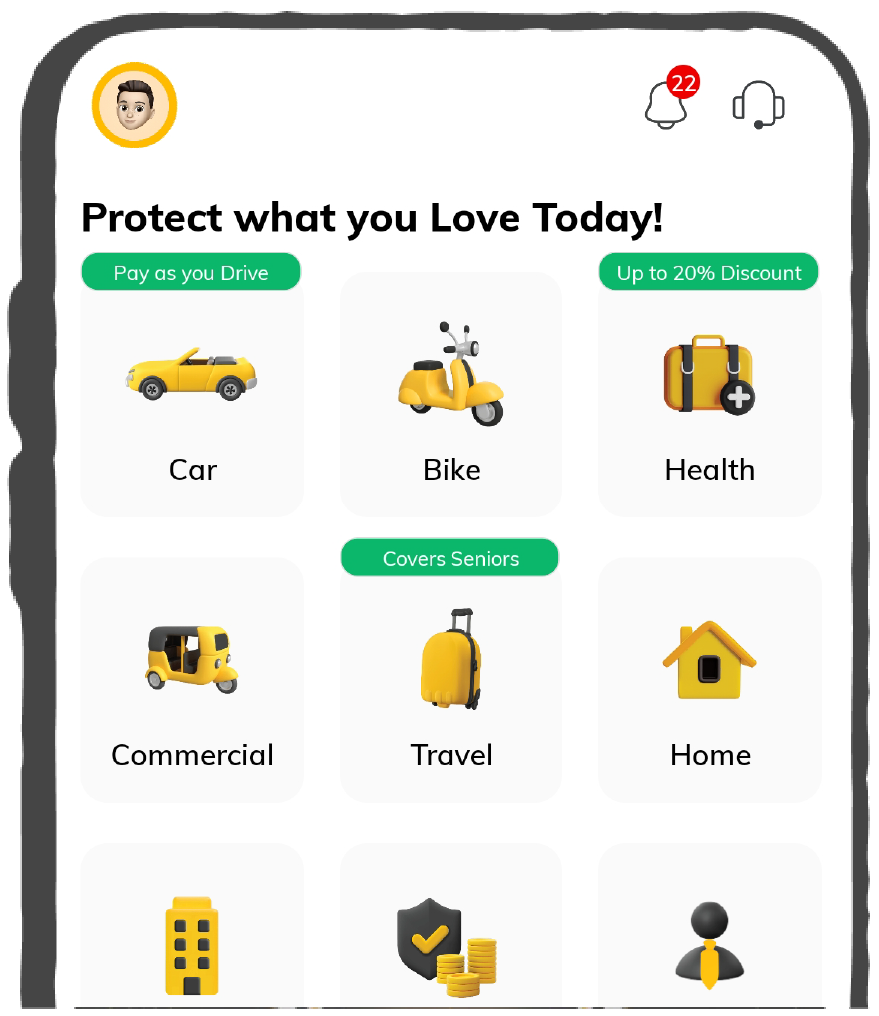
General Products
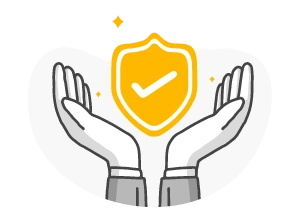
Simple & Transparent! Policies that match all your insurance needs.

Scan to download

Life

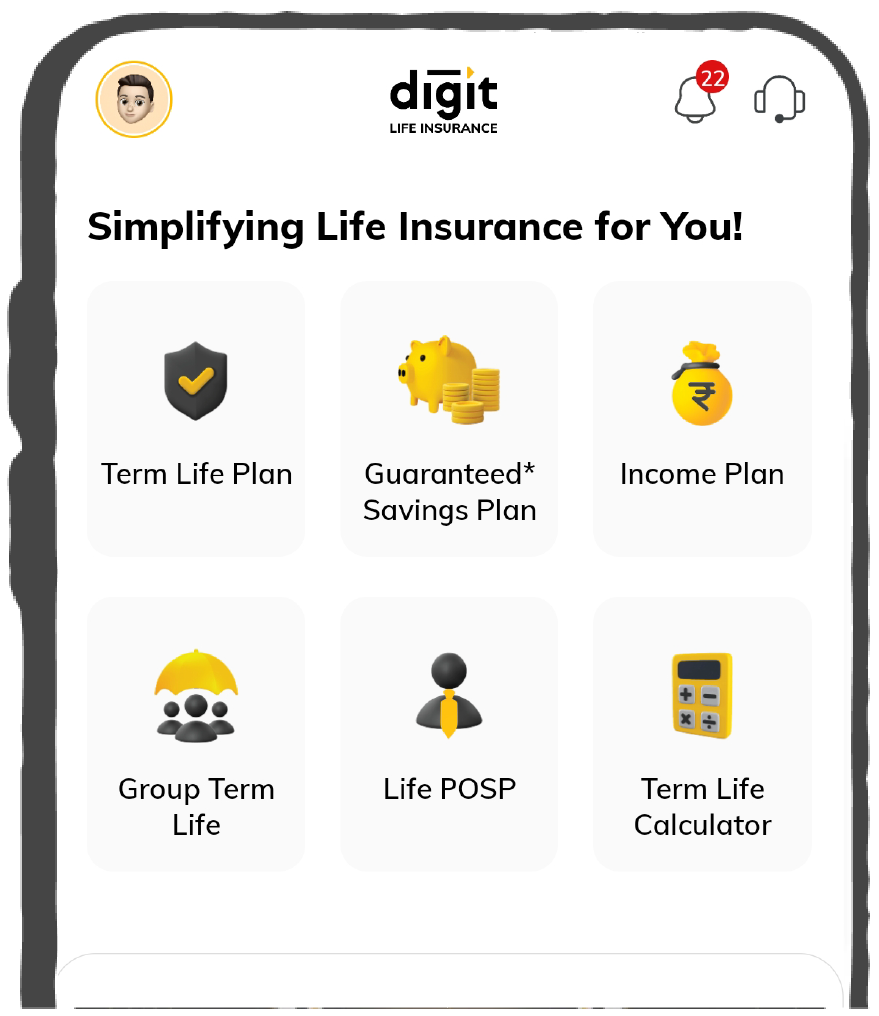
Life Products
Digit Life is here! To help you save & secure your loved ones' future in the most simplified way.
Scan to download

Claims
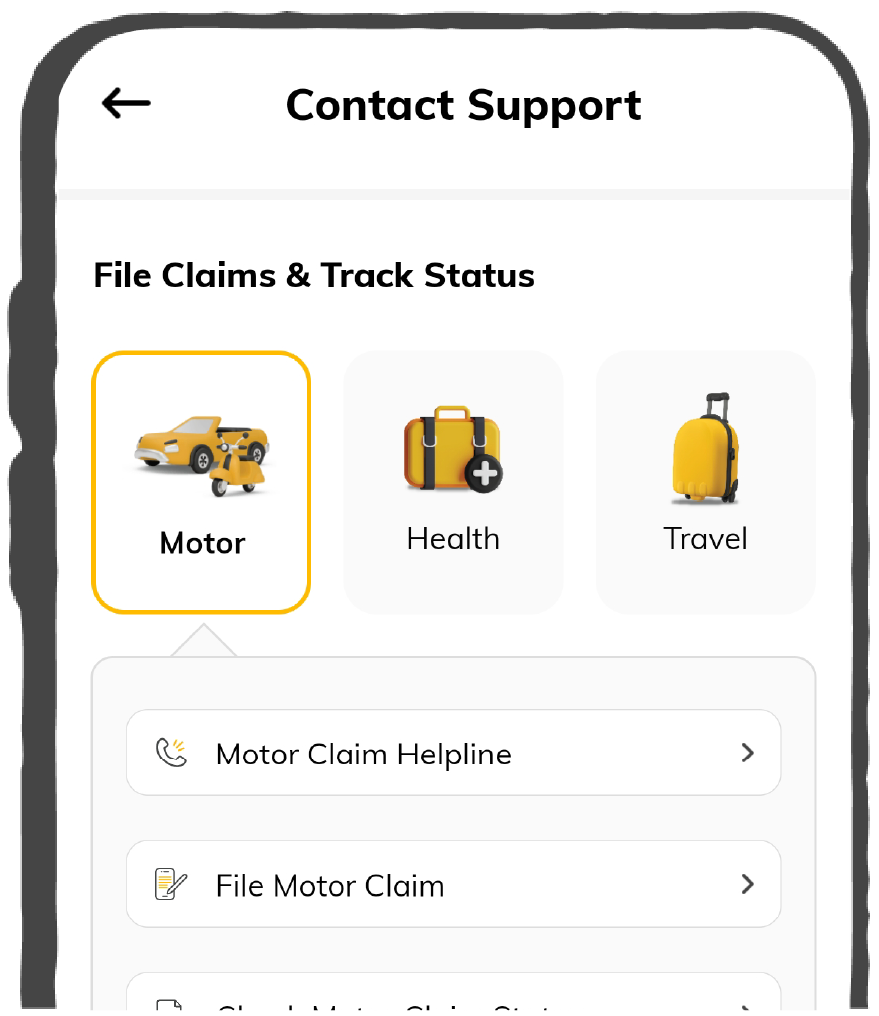
Claims
We'll be there! Whenever and however you'll need us.
Scan to download
 General
 Life
Life
Renewals
Resources
Resources
All the more reasons to feel the Digit simplicity in your life!
Scan to download
Our WhatsApp number cannot be used for calls. This is a chat only number.


8 Crore+ Customers

Affordable Premium


A key initiative under the flagship of the Indian Government, DigiLocker aims to promote the Digital India program. It focuses on making our country a digitally empowered society where citizens can access documents over the cloud. In short, it eliminates the use of physical documents and allows citizens to share e-documents.
Navigate through this write-up to learn what DigiLocker is, its advantages and disadvantages, how to create one and more!
Focusing on the idea of paperless governance, a DigiLocker is a digital wallet where you can store your essential documents. These include your PAN card, Voter ID card, driving licence, policy documents, etc. Also, you can have access to your authentic virtual documents. Thus, it eliminates the usage of physical documentation.
Under the Indian Information Technology Act 2000, all these documents are legally valid. Additionally, as per Rule 9A of The Information Technology (Preservation & Retention of Information by Intermediaries Providing Facilities of DigiLocker) Rules, 2016, all issued documents available through DigiLocker have to be treated as par with your original physical documents.
The process of how a DigiLocker works is simple. You can upload all the necessary documents and ensure safety after signing up on the platform.
After this, you will get personalised cloud storage that links to your Aadhaar card. Verifying your documents' authenticity online has immensely helped by contributing to the Indian government's vision of the Digital India project.
Furthermore, as you log in to your DigiLocker account, it will display several sections. You can use it in the following ways:
Apart from knowing the meaning of DigiLocker, you must learn about its benefits. These have been discussed in brief below:
Gone are the days when you had to worry about the safety of your documents. DigiLocker ensures the complete security of your documents and allows access whenever you require them. In addition, this application comes with 256-bit SSL certificates meaning that all information you provide to issue your documents is encrypted, thus, safeguarding your personal information.
e-Signature is a digital signature, also commonly known as self-attestation. It is a completely secure process to sign your electronic documents online digitally. In this instance, your Aadhaar number and the digital signatures will be linked to each other.
It is a one-time process, and once you do it, you will not have to repeat the process to verify every time. The advantage here is while a private digital signature requires an annual fee, a DigiLocker signature doesn't need it.
One of the biggest advantages of DigiLocker is it contributes to the government's initiative to promote paperless documentation to save paper for the future. Therefore, you can upload all your scanned documents safely after completing your registration process.
This includes your graduation and post-graduation certificates, PAN card, Aadhaar card, driving licence, passport, electricity bill, and other necessary documents.
In certain instances, if government agencies ask for legal documents from you for verification while applying for any exam or service, you must provide the locker number. After getting the number, these agencies will quickly verify your identity. This easy process prevents the carrying of original documents and eliminates the risk of misplacing them.
Digitisation will eliminate the risk of fraud as one can now share documents much more safely. However, you must ensure that you do not share the DigiLocker number or your Aadhaar card details with anyone. Additionally, avoid using DigiLocker via public Wi-Fi systems or hotspots or from any other computers.
Another biggest benefit of DigiLocker is you can avail an initial storage space of 10MB for free to store all your necessary documents. However, the government plans to extend the space to 1GB for each locker to allow you to save more documents there.
This process will reduce the government's operational costs, including staffing and related expenditures. It will, therefore, bring the expenditure under control, contributing to the country's economic growth.
As the processes get more accessible and faster, PAN applications or other documents become faster online. The entire digital process allows you to e-sign them through your unique DigiLocker number and Aadhaar KYC service.
As this new process welcomes many benefits, certain disadvantages come along. Here they are:
Now that you know the meaning of a DigiLocker and the pros/cons, let us get into the details of creating an account.
Creating an account in DigiLocker is a fast and hassle-free process. However, if you require guidance, seek it from someone who has already opened an account and knows the process well. In contrast, you can follow the below simple steps to open an account in DigiLocker:
Step 1: Visit the DigiLocker website. However, if you want to use it on your mobile phone, you can download the application from the Play store.
Step 2: Now, click on the ‘Sign up’ option, and enter your full name, date of birth, and mobile phone number. Ensure that the phone number you are using is linked with your Aadhaar number.
Step 3: Enter a security PIN and mention your email ID. Ensure that the PIN is not a predictable number or a digit.
Step 4: Next, enter your 12-digit Aadhaar card number. You can view two options: OTP (One Time Password) or a Fingerprint option. Use any of the two at your convenience to proceed.
Step 5: As the process is complete, this application will prompt you to create your ‘Username’ and ‘Password’. Enter the desired password and username to create your DigiLocker account successfully.
Step 6: Now, click on the ‘Sign up’ button. After the account is created successfully, the system will display a 'Dashboard' screen on the DigiLocker. This means the process is complete now.
Uploading the documents on a DigiLocker is a much easier process. Here are the steps as follows:
Step 1: After signing up, click on the ‘Upload Documents’ section on the screen. You can upload more than one document at a time.
Step 2: After you click on the ‘Upload’ tab, you have to choose the location and select the files you require to upload.
Step 3: As you select the files, click on the ‘Open’ option. You can select multiple documents at a time.
Step 4: Click on 'Select Document Type' to select any documents provided in the uploaded documents list.
You will see a drop-down box from which you can select the document type. However, if your document doesn't match the pre-defined document type, you must choose the 'Others' option in the drop-down menu.
Step 5: Click on the 'Save' button. The system will update your document type.
This is all the information on what is DigiLocker and how to create your account. Try reading the rules and regulations adequately before signing up, and keep your documents ready so that you can upload them fast.

