General
Life
Accessibility Options

General

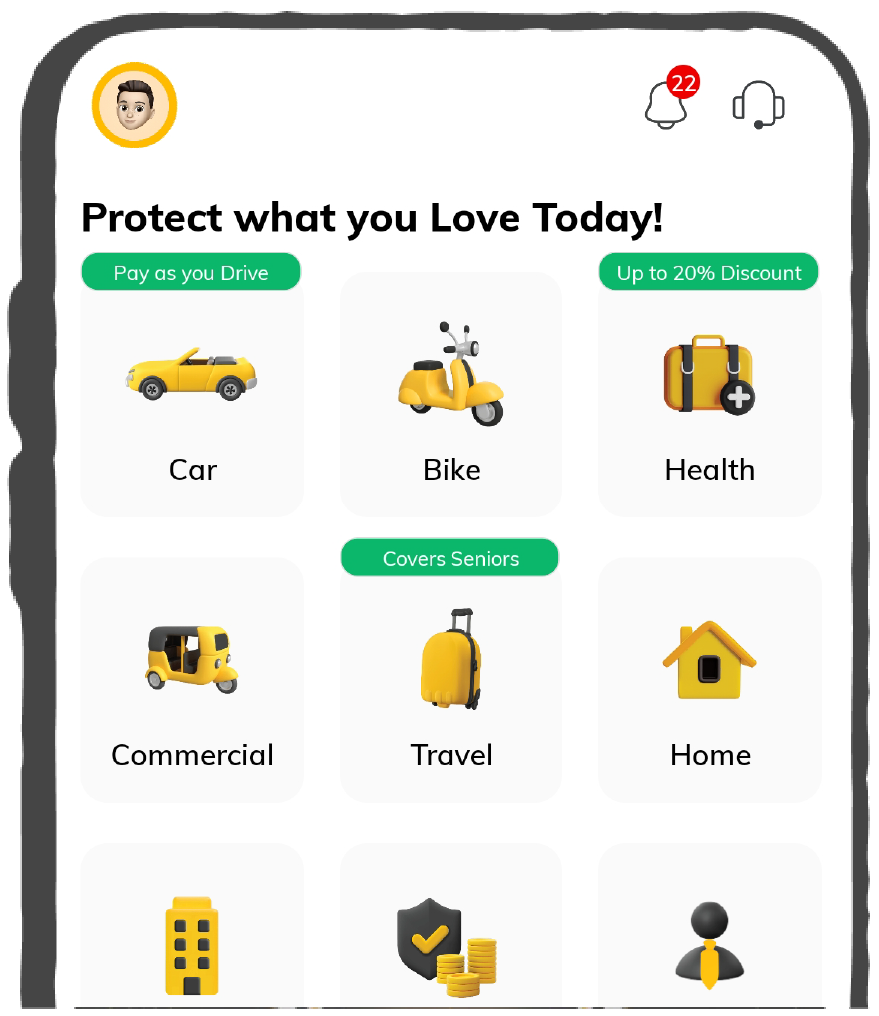
General Products
Simple & Transparent! Policies that match all your insurance needs.

Scan to download

Life

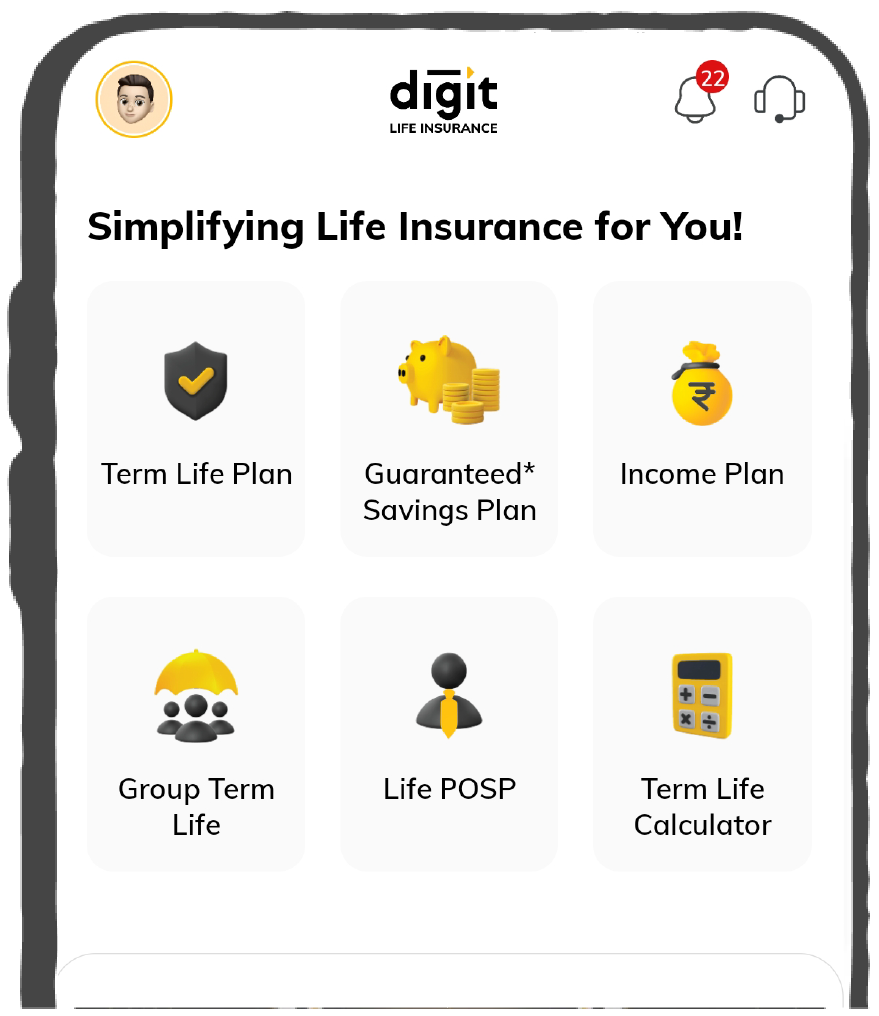
Life Products
Digit Life is here! To help you save & secure your loved ones' future in the most simplified way.
Scan to download

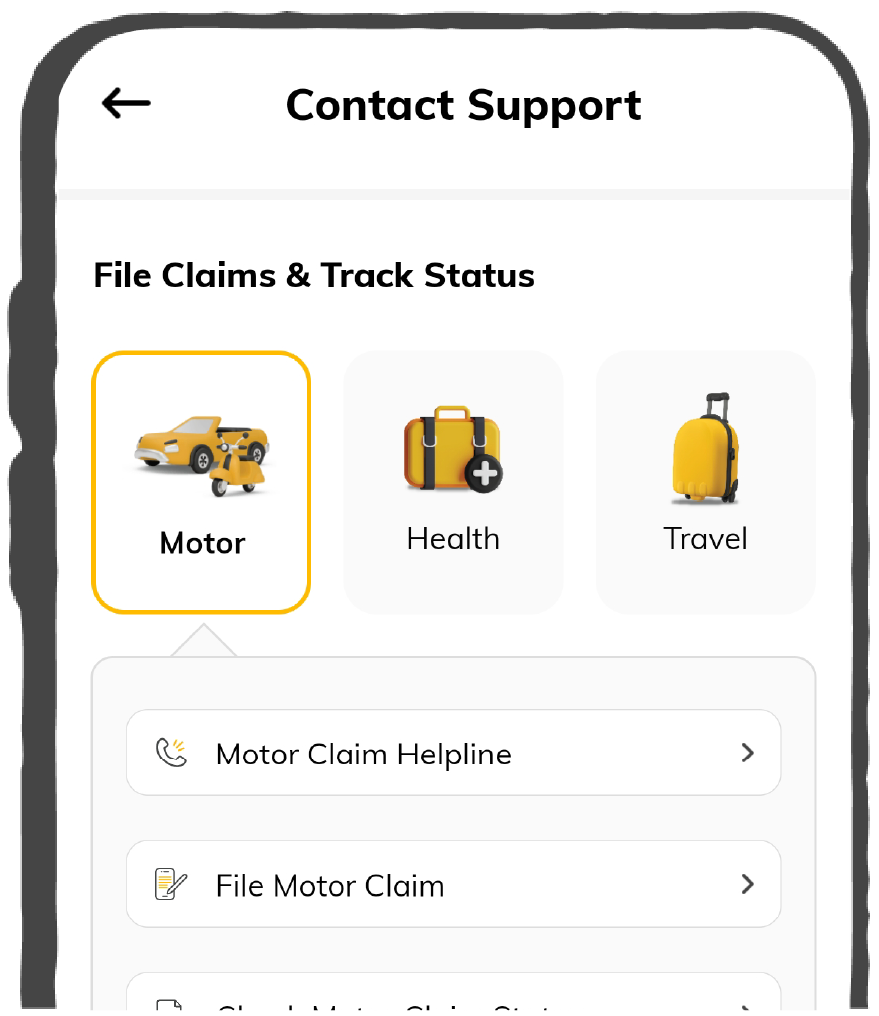
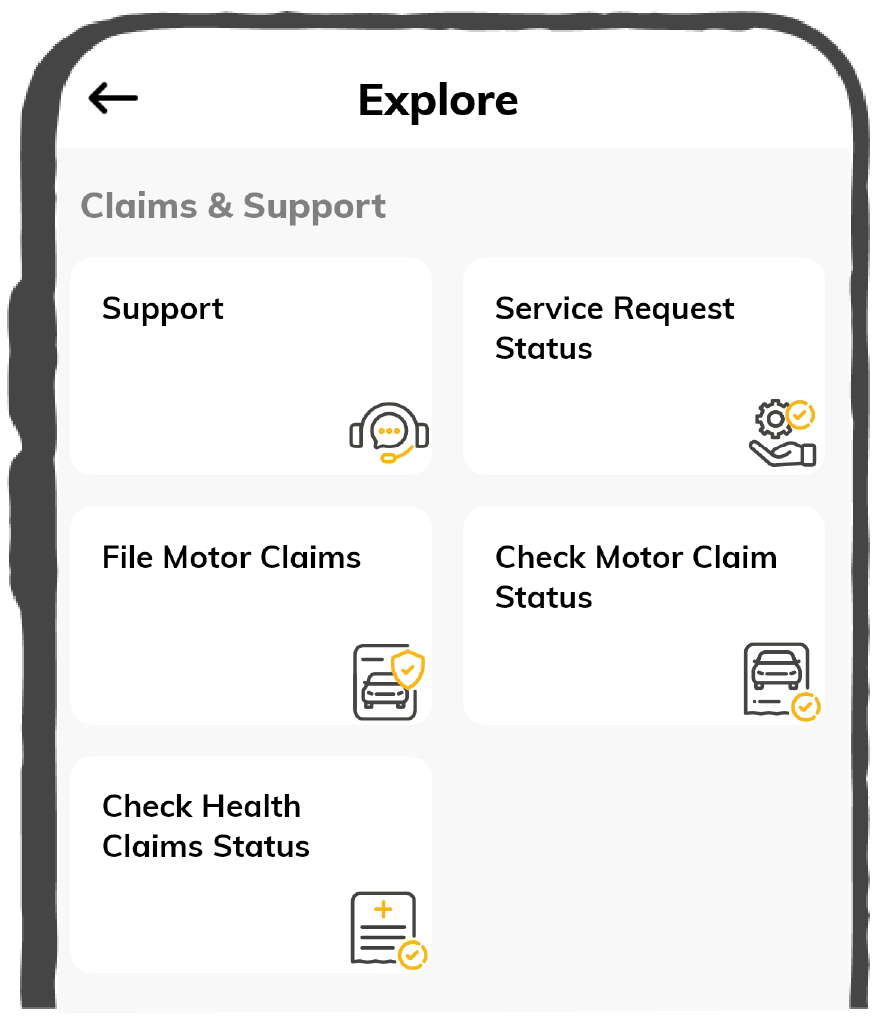
Claims
Claims
We'll be there! Whenever and however you'll need us.
Scan to download
 General
 Life
Life
Renewals
Resources
Resources
All the more reasons to feel the Digit simplicity in your life!
Scan to download
Our WhatsApp number cannot be used for calls. This is a chat only number.


8 Crore+ Customers

Affordable Premium


We always fear losing our necessary personal documents while travelling, don't we?
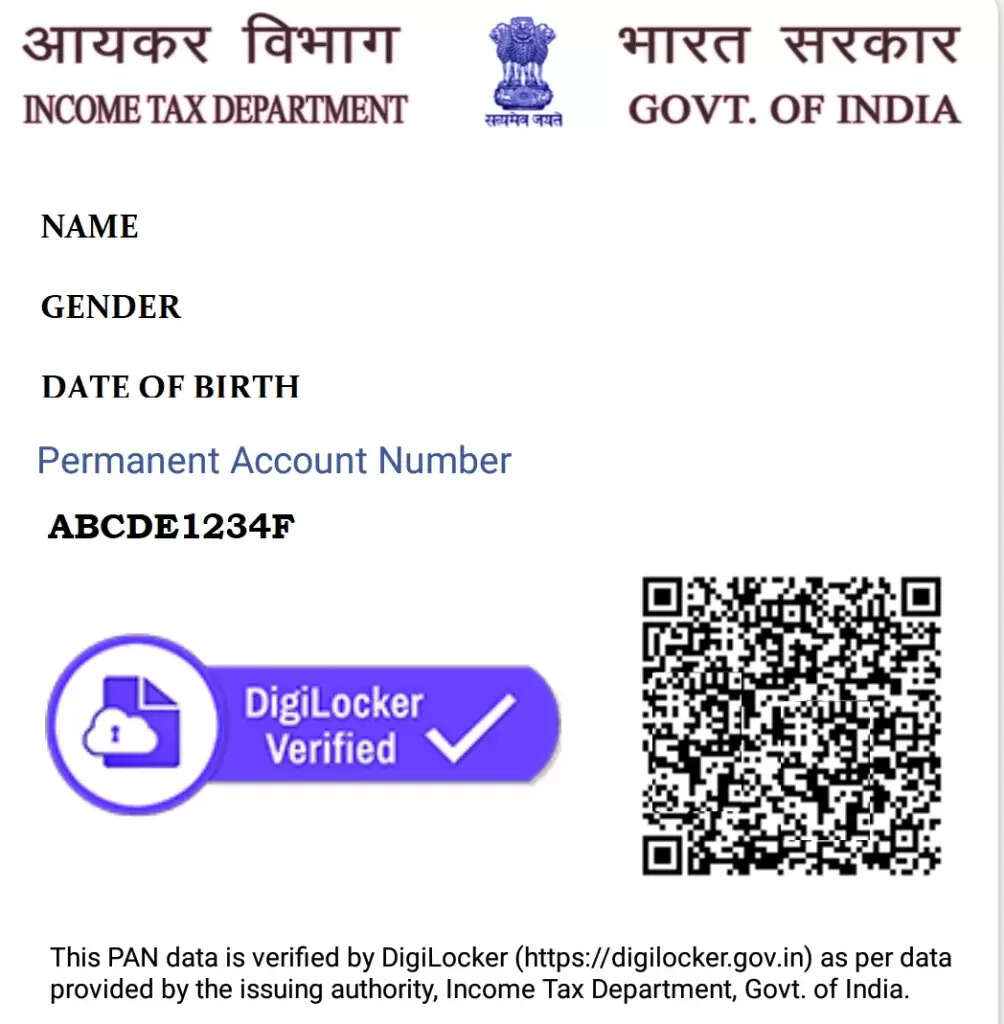
DigiLocker is a fantastic solution in such an instance where we will not have to carry our documents yet we can access them whenever we require. DigiLocker helps in storing your driving licence, Voter ID card, policy documents, and most importantly, your Permanent Identification number or PAN card.
Navigate through this write-up to know the simple steps that link your PAN card in DigiLocker and its importance.
DigiLocker is a cloud-based platform that reduces paperwork and allows the issuance, storage and sharing of the necessary documents and certifications in a digital form. Besides verifying, this cloud service allows you to select registered organisations so that you can provide e-copies in digital lockers.
For the PAN card integration facility, the Central Board of Direct Taxes has ventured with DigiLocker. The process of how to add a PAN card in DigiLocker is very simple and comes in easy steps. Here they are as follows:
Step 1: Go to the DigiLocker website, and if you are a member already, sign in with your account details.
Step 2: As you log in, you will notice an "Issued Documents" section in the top left corner.
Step 3: Under “Issued Documents", you will notice a "Pull Documents” link. Click on this option.
Step 4: Then, under it, you will see a drop-down marking partner name, select "Income Tax Department" and move to the "Document Type" option.
Step 5: This section will show the "PAN Card" option, which you must select.
Step 6: Now, search your documents by entering details such as your name, date of birth, Aadhaar number, etc. Ensure that they match your PAN card details.
Step 7: Next, enter your PAN number and select the gender section, tick on the “Agree With” section and tap on “Get Documents”
Step 8: You will notice a ‘Congratulations” message. That means DigiLocker has received your PAN data.
Step 9: To access this link, move to the "Issued Documents" section and do the same. Your PAN data will be stored on the DigiLocker official site and the app as well.
Step 10: Click on the "Get document" section to get the link. Your PAN is integrated with DigiLocker, so you can view your document or save the link.
While following this procedure of ‘how to link a PAN card to DigiLocker’, remember you can also access it through the app. You just need to open your DigiLocker app and provide your Aadhaar number to sign up. Then follow the similar steps as a website to get your link.
Apart from the PAN Card, there are several other documents that you can upload and download in the DigiLocker app. However, if you simply upload a scanned copy of your PAN card in DigiLocker, it will not be accepted as authentic. In that case, you need to get a document issued by the Income Tax Department.
Here are the details on how you can download the PAN card in the DigiLocker app:
Step 1: Begin by logging in to the DigiLocker app from your mobile phone.
Step 2: Then, click on the search icon that you will notice in the bottom right section of your app.
Step 3: Search for the “Income Tax Department, Govt. of India, All States” section.
Step 4: Now, click on "PAN Verification Record'. You can easily search for your PAN by simply entering your gender and PAN card details.
Step 5: Do not forget to click on the consent clause and click "Get Document".
Your PAN card will easily get downloaded in your DigiLocker app. You can share these documents with any person whenever required.
Since digitisation is the primary motto behind the government advancing towards DigiLocker, there are several other importance of linking PAN cards to this cloud service. They are as follows:
Now that you know why it is essential to store your personal documentation in DigiLocker, let us discuss how it is beneficial for you and the government.
A PAN card is a crucial document every citizen carries. Misplacing or losing it will lead to unnecessary hassle. Therefore, it is best to upload it in a completely safe system that eliminates the fear of losing it. There are a lot of benefits to uploading a PAN Card in DigiLocker. Here they are as follows:
DigiLocker initiates several benefits to the Indian citizens, which are as follows:
As you upload documents, you are able to do the following activities easily:
Besides the policyholders, government organisations and agencies also benefit from using DigiLocker. Government agencies are easily able to verify these data directly from the issuers after they provide consent. Further benefits are as follows:
Now you have all the details about linking your PAN card to DigiLocker and its importance. However, if you face any difficulty in doing so, seek help from an experienced person. It should be someone who has already undergone the system.

