General
Life
Accessibility Options

General
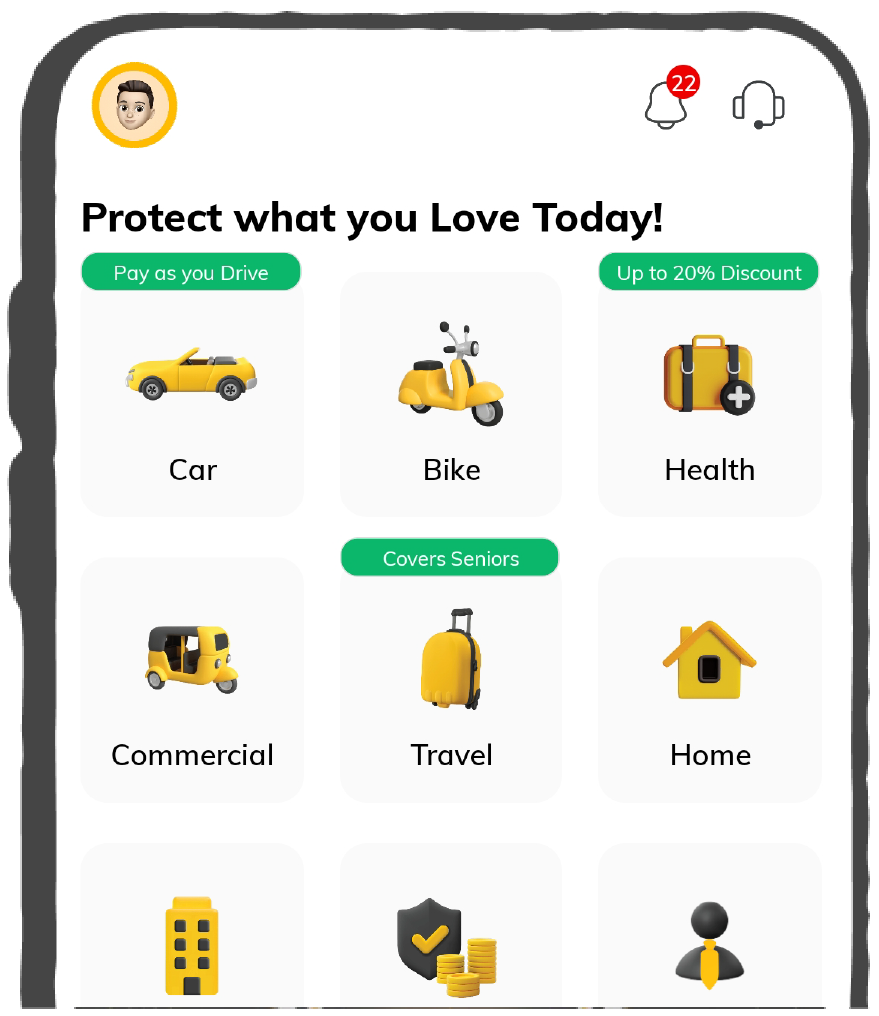
General Products
Simple & Transparent! Policies that match all your insurance needs.

Scan to download

Life

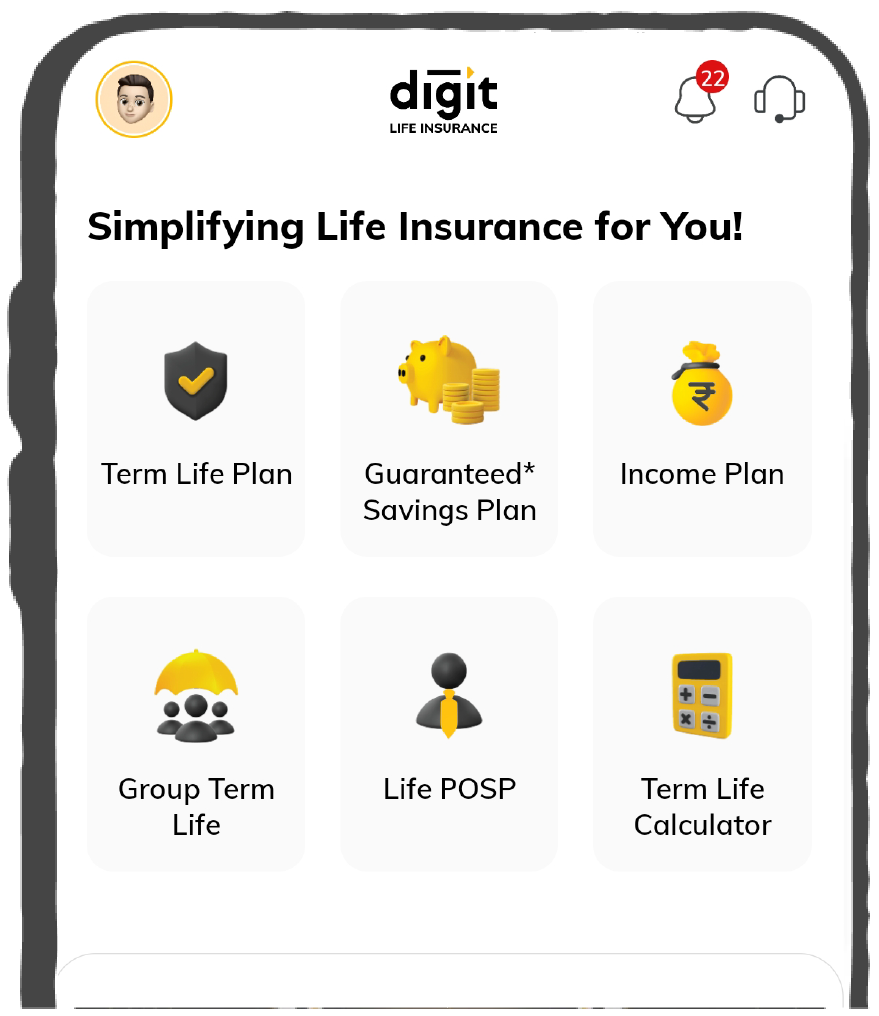
Life Products
Digit Life is here! To help you save & secure your loved ones' future in the most simplified way.
Scan to download

Claims
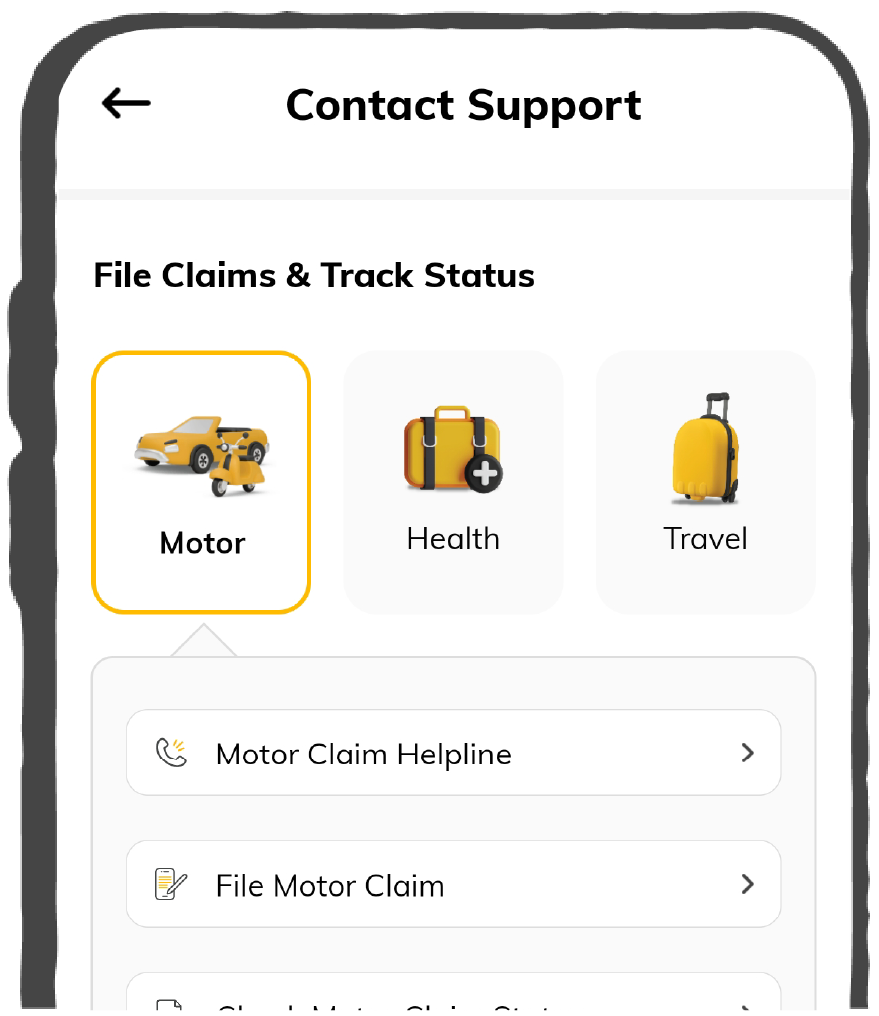
Claims
We'll be there! Whenever and however you'll need us.
Scan to download
 General
 Life
Life
Renewals
Resources
Resources
All the more reasons to feel the Digit simplicity in your life!
Scan to download
Our WhatsApp number cannot be used for calls. This is a chat only number.


8 Crore+ Customers

Affordable Premium


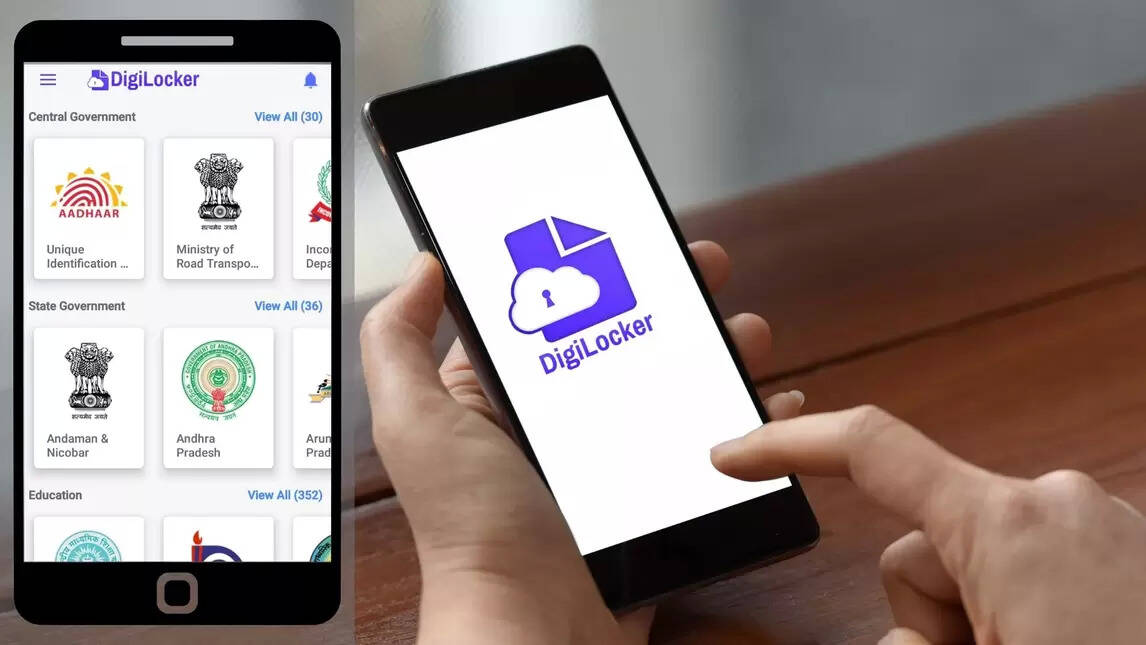
The government of India has launched a public cloud named DigiLocker to support the digitisation idea of India. As the name suggests, it is a digital locker for the safekeeping of important documents online. Using it, one can share any document, whether a PAN card, board mark sheet, birth certificate, or more, whenever and wherever required.
This article discusses how to create a username and password for DigiLocker, how it functions and why it is beneficial. Now, let’s take a deeper look into this digital cloud to understand its purposes.
DigiLocker provides a simple interface for a smooth consumer experience. One can easily access this platform with a few steps. Follow these steps to open an account in DigiLocker:
Step 1: Go to the official website of DigiLocker.
Step 2: Click "Sign Up" on the top right of the page.
Step 3: Enter full name, mobile number, DOB (date of birth as per one’s Aadhaar card), email ID, and 12-digit unique Aadhaar number in the given box.
Step 4: Press “Submit” to proceed.
Step 5: An OTP (One Time Password) will be generated for the mobile number.
Make sure to provide the mobile number linked with your Aadhaar number. If the Aadhaar number is not linked with the mobile number, contact the nearest Aadhaar issuing agency to update the mobile number with the Aadhaar card.
Step 6: Enter the OTP and tap "Submit” to proceed further.
Once the OTP is verified, a tab will open to set a username and password for users.
But what if you don’t have your Aadhaar number handy? DigiLocker also provides the user to log in without using Aadhaar.
To open an account on DigiLocker without an Aadhaar card, follow these steps:
Step 1: Visit DigiLocker’s website.
Step 2: Select “Sign Up” on the top right of the page.
Step 3: Enter the “Mobile Number” that is linked with the Aadhaar card.
Step 4: Click on “Continue” to proceed.
Step 5: An OTP will come to the number, enter the OTP and select “Verify”.
Step 6: Create a username and password for signing up and continue with the "Sign Up" option.
Step 7: While opening DigiLocker without an Aadhaar card, select “Don’t Have Aadhaar? Continue Here”.
Step 8: Now, an individual will see a dashboard for email verification. Email verification is to proclaim more security to an account.
Step 9: Enter your email address and select "Send Verification Link".
Step 10: You will receive an email verification link. Click on the link and verify the email address.
Once the email address is verified, the DigiLocker account is ready. After that, it is essential to create a strong username and password for DigiLocker to complete the procedure.
While creating a username, be very careful, as one cannot change the username later. In other words, the username one creates for signing up is unchangeable. Individuals can follow these guidelines while setting up a username for the first time.
If you are wondering how to create username in DigiLocker, follow these instructions:
Step 1: Decide a strong username by considering the following pointers.
For example, one's username could be like this for a person named Vikash Singh: vikashS_69. Individuals can make usernames for themselves accordingly. It is not recommended to follow the same as above.
Step 2: Create a password for signing up for DigiLocker or set a 6-digit PIN which will work as a password for later.
An account will be created if one successfully makes a username and password or just sets a 6-digit PIN.
Step 3: The website will verify the Aadhaar number and validate the registration process.
Step 4: After that, one can sign in with DigiLocker.
Now, let’s look at how DigiLocker works.
Storing important documents in digital form is becoming an issue of concern due to cyber security setups. The government of India has launched a digital locker for issuing and safe-keeping important documents like PAN, Aadhaar, driving licence etc.
This online platform named DigiLocker provides a free cloud to store e-documents. So, individuals can register in this and store as many files and documents as they want.
The uses of DigiLocker are as follows:
However, one must have an Aadhaar card to get these benefits. Also, the mobile number should be linked to the Aadhaar number.
The list of services DigiLocker verified by the Central Government of India are as follows:
Therefore, DigiLocker ensures hassle-free e-documents usage with the aspects of paperless governance. Now, let’s discuss the specific benefits it serves.
DigiLocker promises a paradigm shift to assist citizens and agencies through the elimination of physical documents. This plays a crucial role in establishing secure document access for users.
The key idea is to empower society and ease the documentation process. However, there are varied objectives of DigiLocker are present to be discussed thoroughly. These objectives are as follows:
Indian Information Technology Act of 2000 declares that all these e-documents stored in DigiLocker are as valid as physical documents. So, there is no issue while sharing it for carrying out legal and authentic procedures. However, to avoid any leakage of your sensitive data, follow the above step-by-step guide. It will help individuals to create a strong username and password for DigiLocker to avoid fraud.

