General
Life
Accessibility Options

General

General Products
Simple & Transparent! Policies that match all your insurance needs.


Scan to download

Life

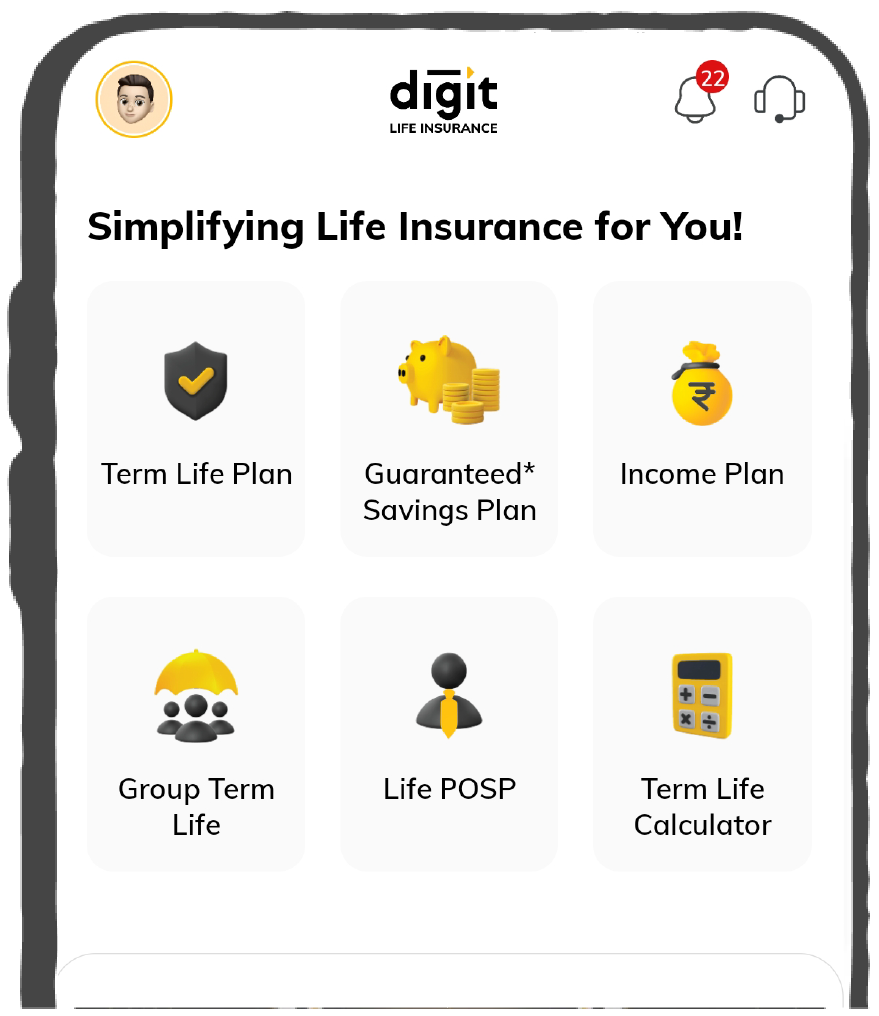
Life Products
Digit Life is here! To help you save & secure your loved ones' future in the most simplified way.
Scan to download

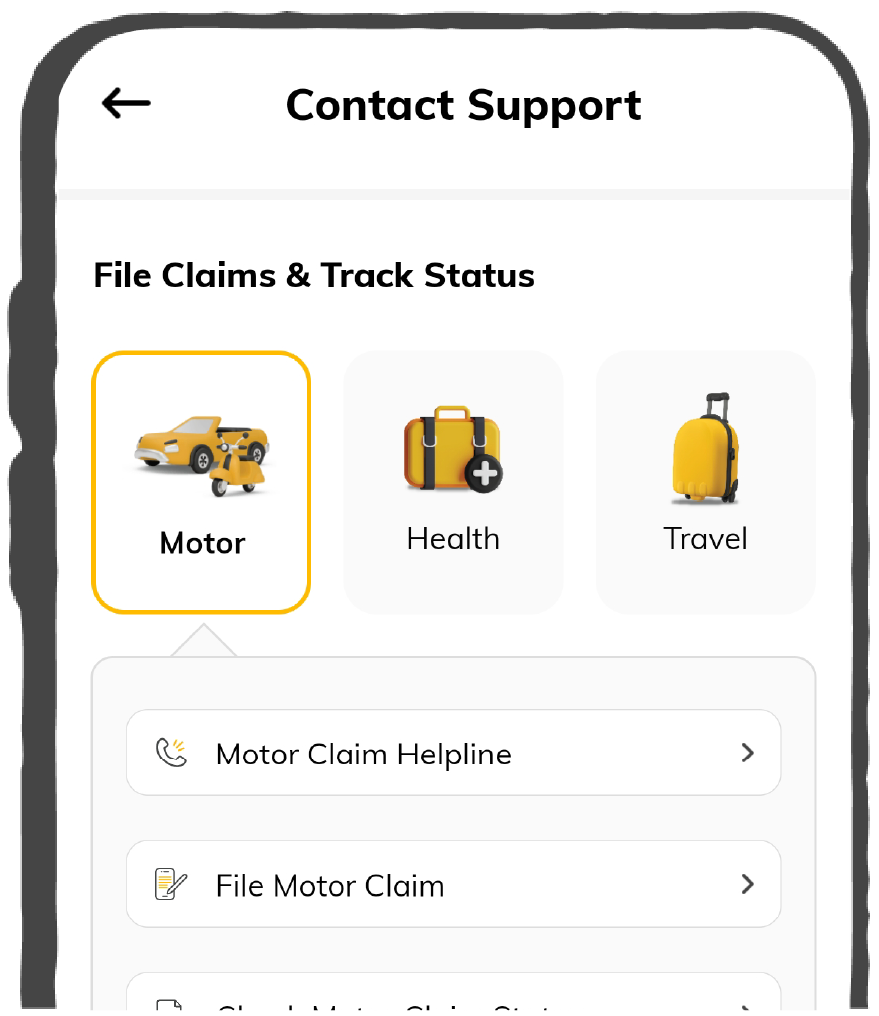
Claims
Claims
We'll be there! Whenever and however you'll need us.
Scan to download
 General
 Life
Life
Renewals
Resources
Resources
All the more reasons to feel the Digit simplicity in your life!
Scan to download
Our WhatsApp number cannot be used for calls. This is a chat only number.


7 Crore+ Customers

Affordable Premium


Just like GSTR 1, GSTR 2 and other returns, taxpayers also have to file for GSTR-5. However, this must be filed by non-residents only who have certain tax liabilities. One can also file this return through the official GST portal. The step-by-step procedure is mentioned below in this article.
However, first, let us start by understanding what GSTR-5 is, the information you can find and more. So, keep reading!
GSTR-5 is a monthly GST return that must be filed by Non-Resident Taxable Persons (NRTPs) who make taxable supplies in India but do not have a fixed place of business or residence in the country. This return captures details of outward and inward supplies, tax liability, and input tax credit (ITC), if applicable. NRTPs must obtain temporary GST registration under Section 27 of the CGST Act, which is valid for 90 days or the period specified in the application, whichever is shorter. [cleartax.in]
The due date for filing GSTR-5 is:
Late filing attracts a penalty of ₹50 per day (₹25 CGST + ₹25 SGST), capped for nil returns at ₹500. NRTPs can claim ITC only for the duration of their registration and cannot carry it forward beyond that period.
The meaning of GSTR-5 will be clearer by knowing about the format present in the form GSTR-5:
Section 1: It includes the GSTIN information of individuals. However, if non-resident taxpayers do not have GSTIN, they can also provide a Provisional ID.
Section 2: This section contains three headers. It includes:
However, once you provide your GSTIN, this section will auto-fill itself.
Section 3: This section gives information about Input or Capital goods imported overseas. So, non-residents must provide information on these imported goods by giving details of Bills of Entry, rate of tax, Cess paid, and amount of Input Tax Credit (ITC).
Section 4: If any change is vital in this previous form, one must mention it under Section 4. Individuals can make amendments under different columns that mention rate, taxable value and more. Here make sure that you give both old and new information.
Section 5: This form contains invoicing information relating to a business-to-business sale made to a registered person or UIN or Unique Identity Number holders. Here NRI taxpayers must mention details of IGST, CGST and cess applicable for sale.
Section 6: In case an invoice value of the sale made to an unregistered person exceeds ₹ 2.5 lakhs, one has to mention its details under this section. In other words, it contains details of inter-state supplies.
Section 7: This section is dedicated to recording taxable supplies made to the unregistered person that does not come under section 6. However, this will only contain details of intra/inter-state supplies (net of debit note and credit note) made to unregistered dealers that do not cross the value of ₹ 2.5 lakhs.
Section 8: This section contains amendment details made in the previous sections, i.e., 5 and 6. Also, it includes changes made in business-to-business. Along with amendment, also provide details of credit and debit notes issued in the month.
Section 9: Any changes in taxable outward supplies made to unregistered people mentioned in Section 7 should come under Section 9. It gives data on business-to-consumer sales carried out in the previous month, which was initially discussed in Section 7. However, it should follow a consolidated summary format with the state-wise mention of inter-state supplies.
Section 10: This section contains total tax liability broken down into two sub-categories, including 'On Account of Outward Supply' and 'On Account of Differential ITC Being Negative in Table 4.'
The first column gives information on tax liability for outward supplies for the same month. The second column, on the other hand, shows additional tax that taxpayers must clear due to the reversal of input tax credit in response to the changes made in imports earlier.
Section 11: This section contains different tax paid and tax payable columns. In addition, taxpayers also fill out columns of CGST, IGST, SGST and Cess. The payment can be made either through cash or ITC.
Section 12: There are two headers mentioning the amount payable and amount paid under which taxpayers must mention late fee due, interest applicable and others.
Section 13: It contains details regarding refunds claimed using Electronic Cash Ledgers. So, one may need to give tax, penalty, interest and other details. Lastly, he/she must select the bank name from its drop-down list.
Section 14: It shows debit entries made in the credit ledger, electronic cash, and interest payment. Assesses must fill it out after the tax is paid and the return is submitted. This last section will also give details on cash outflows in the form of interest, tax, and late fees.
After understanding the format of GSTR-5, let us look at the prerequisites one must fulfil to file this return.
The following are some criteria one must fulfil before filing this return:
In this section, we have explained how to file GSTR-5 on the official government portal through a step-by-step guide:
Step 1: Visit the official GST portal and log in using your valid ID and password.
Step 2: Locate 'GSTR-5' and generate 'GSTR-5 summary.' For this, you need to tap on 'Services', 'Returns', and then 'Return Dashboard.'
Step 3: Choose your 'Financial Year' along with the 'Returning Filing Month' you want to file this return for. For this, you may have to select options from its drop-down list. After selecting, click on 'Search'.
Step 4: Select ‘Prepare Online.’ It will prepare the return for making an entry in the GST portal.
Step 5: Next, click 'Generate GSTR-5.' It is a summary button present at the bottom of the webpage. It will allow you to view auto-drafter supplies of services or goods.
Step 6: Lastly, a successful message will appear on your screen.
Step 7: Now, you need to fill up different columns. For this, click on blocks present under the table and fill in details containing original and amended information.
Step 8: Select the block that mentions 'Import of Goods.' Add details of capital and input goods received from overseas. Next, click 'Add BOE' to record a new invoice.
Step 9: Fill in details of bill of entry no, port number, date of bill of entry, and value of a bill of entry in the boxes present on the current page.
Step 10: Select ‘Save’ to load the invoice details.
Step 11: Select 'Back' to reflect the number of invoices. It will also give details of the total liability, taxable value, and total input tax credit available.
Step 12: Next, locate the block that mentions '5-Outward Supplies Made.' Through this, you can add information on outward supplies made to registered people and taxable. Select ‘Add details.’
Step 13: Choose the checkbox that asks a question about 'Is supply at par with the different percentage of tax rate notified by the government.'
Step 14: Lastly, click 'Save' to record the details of an invoice for outward supplies.
Step 15: Select 'Add details' to include information on the B2C invoice under this block.
Step 16: After mentioning all data required, select 'Save.'
Step 17: Click on ‘Back.’ It will reflect every invoice in addition to the total liability and total taxable value.
Step 18: Under 7A, 7B B2C Block, locate and click on 'Add Details.'
Step 19: Once you complete filling necessary details, click on 'Save.'
Step 20: Select 'Back' to reflect invoices in addition to total liability and taxable value.
Step 21: Choose the block that mentions ‘Add Credit or Debit Notes’ and fill in important details. Lastly, click on ‘Save.’
Step 22: Where it mentions GST rates, fill out details of your taxable values.
Step 23: Select 'Counterparty GSTIN' in the 'Processed Invoice' section.
Step 24: Under this summary tab, click the tab that mentions 'Add Debit or Credit Notes.' Add the necessary details and click on 'Save.'
Step 25: It will take you to the previous window showing a success message of the invoice being added.
Step 26: Select 'Back' to reflect debit and credit notes in the recordings.
Step 27: Select the tab mentioning 'Amended Imports of Goods' to mention details of imported goods that have gone through amendments.
Step 28: Choose 'Amend Bill of Entry' and fill in the required data.
Step 29: Carry all amendments as required and click on ‘Save.’
Step 30: Tap on ‘Back.’ It will reflect different invoices, total liability, taxable value, and invoice value.
Step 31: Under this block, mention details of amendments of outward supplies made to registered people.
Step 32: Feed in the concerned 'Financial Year,' 'Invoice Number', and select 'Amend Invoice.'
Step 33: Select 'Save Outward Supplies' to record details after mentioning every piece of information.
Step 34: Click ‘Back.’ It will reflect different invoices in addition to details of total liability, taxable value and invoice value.
Step 35: Under this block dedicated to large invoices, record details of amendments for outward supplies made to unregistered people.
Step 36: Put in the ‘Financial Year’ and feed in your invoice number. Click on ‘Amend Invoice.’
Step 37: Select 'Save' to record these invoice details.
Step 38: Click ‘Back.’ It will reflect different invoices in addition to the total liability, taxable value and total invoice value.
Step 39: Under this block, fill in details of amendments in outward supplies made to unregistered people.
Step 40: Click on ‘Amend Details.’
Step 41: Select ‘Save’ to record these amended invoice details.
Step 42: Select ‘Back.’ It will reflect different invoices in addition to the total liability, taxable value, and total invoice value.
Step 43: Under this section, fill in details of amendments regarding Credit or Debit Notes for supplies made to unregistered people.
Step 44: Fill in 'Financial Year' by choosing correctly from its list along with 'Debit or Credit no.' Next, click on 'Amend note.'
Step 45: Select ‘Save’ to record invoice details.
Step 46: Click ‘Back.’ It will reflect different invoices in addition to details of total liability, taxable value and invoice value.
Step 47: Click on this block to update information about the amendments regarding Debit or Credit notes of supplies made to unregistered people.
Step 48: Put in the ‘Financial Year’ and provide your debit or credit number. Click on ‘Amend Invoice.’
Step 49: Select 'Save' to record these invoice details.
Step 50: Click ‘Back.’ It will reflect different invoices in addition to details of total liability, taxable value and invoice value.
Step 51: Once all the information has been updated successfully, click on 'Preview.'
Step 52: Clicking this preview button will load a summary table of your GSTR-5 details.
Step 53: Under this ‘Tax Liability’ tab, you can view details of tax liability.
Step 54: After going through this tax liability sheet, click on 'Back.' This site will take you to the previous page.
Step 55: This is another block where you must select the checkbox to acknowledge that you have reviewed the details and submitted them correctly. Also, you are confirming that you are aware that one cannot change its detail after submission. Once acknowledged, click on 'Submit.'
Step 56: Next, tap on ‘Proceed’ to clear the warning message.
Step 57: Upon successful submission, this site will show you a confirmation message at the top. Thus, data will freeze, and you will not be able to change any fields.
Step 58: Again, click on 'Preview' to download the GSTR-5 file in a PDF format.
Step 59: As you click this block, you will see a 'Check Ledger Balance Button.' Click on it to view the balance for credit under Central Tax, Integrated Tax, Cess and State or UT Tax. This function enables the assessee to verify their balance before paying for each minor head.
Step 60: This site will show you the ‘Check Ledger Balance Page.’ Click on ‘OK’ to return to the previous window.
Step 61: Now feed in details of credit utilised by you and tap ‘Offset Liability’ to clear this due.
Step 62: Once this liability offsets, click on 'OK' to get confirmation.
Step 63: Next, click on this block.
Step 64: After making a tax payment, it will auto-populate tax payment details in Table 11 in addition to debit entry numbers. These debit entry numbers will generate once an individual utilises ITC and cash balance. Click on 'Back' to return to the previous window.
Step 65: Locate and select the ‘File Return’ option.
Step 66: It will redirect you to a new Return Filing of GSTR-5 page. Tick on the checkbox and choose the authorised signatory option mentioned under the authorised signatory drop-down.
Step 67: Choose an option between ‘File with EVC’ or ‘File with DSC.’
The site will send you an OTP on your mobile number or email. Press verify to complete this process. It will show a success message. Proceed by clicking on 'OK.'
You can continue with this option by clicking on 'Proceed', selecting the 'Certificate', and tapping on 'Sign.'
Step 68: After landing on the 'File Return' page, choose ‘Return Filing Period (Month)’ and the ‘Financial Year’ for which you filed Form GSTR-5. Click on 'Search.'
Step 69: Clear your GST payment by generating a GST payment challan through the portal. Also, taxpayers can make this payment through a deposit of cheque, debit card, credit card, bank draft, or demand draft.
The due date for filing GSTR-5 is the 20th of every succeeding month for a tax period. Here is a schedule of a few upcoming due dates.
|
Month |
Due Date |
|
February 2023 |
20th March 2023 |
|
March 2023 |
20th April 2023 |
|
April 2023 |
20th May 2023 |
|
May 2023 |
20th June 2023 |
Non-resident taxpayers are required to file their returns using Form GSTR-5 for the specific period during which they obtained their registration. The return should be submitted within seven days after the registration's expiry date. If the registration's validity extends for more than one month, the taxpayers must file monthly returns as follows:
Applicable from October 2022: Monthly returns should be filed by the 13th of the following month.
Applicable for return periods from July 2017 till September 2022: Monthly returns should be filed by the 20th of the following month.
Alternatively, if the taxpayer ceases their business operations before the above deadlines, the return must be filed within seven days of the business closure.
Please refer to the table below for a better understanding:
|
Registration Period |
Return Filing Deadlines |
Month of Filling |
|
July 2017 - Sep 2022 |
20th of the month |
Following month |
|
October 2022 onwards |
13th of the month |
Following month |
There is a heavy penalty laid on the assessee for not filing GSTR-5 on time. Also, if a taxpayer misses filing GSTR-5, he or she will not be allowed to file a return in the next month too. Other consequences are as below:
From the information mentioned above on what is GSTR-5, we can understand it is filed by non-resident taxpayers to keep a record of their inward and outward supplies. So, if you are an NRI taxpayer that needs to file GSTR-5, then look at the detailed steps mentioned above and follow them to avoid penalties.

